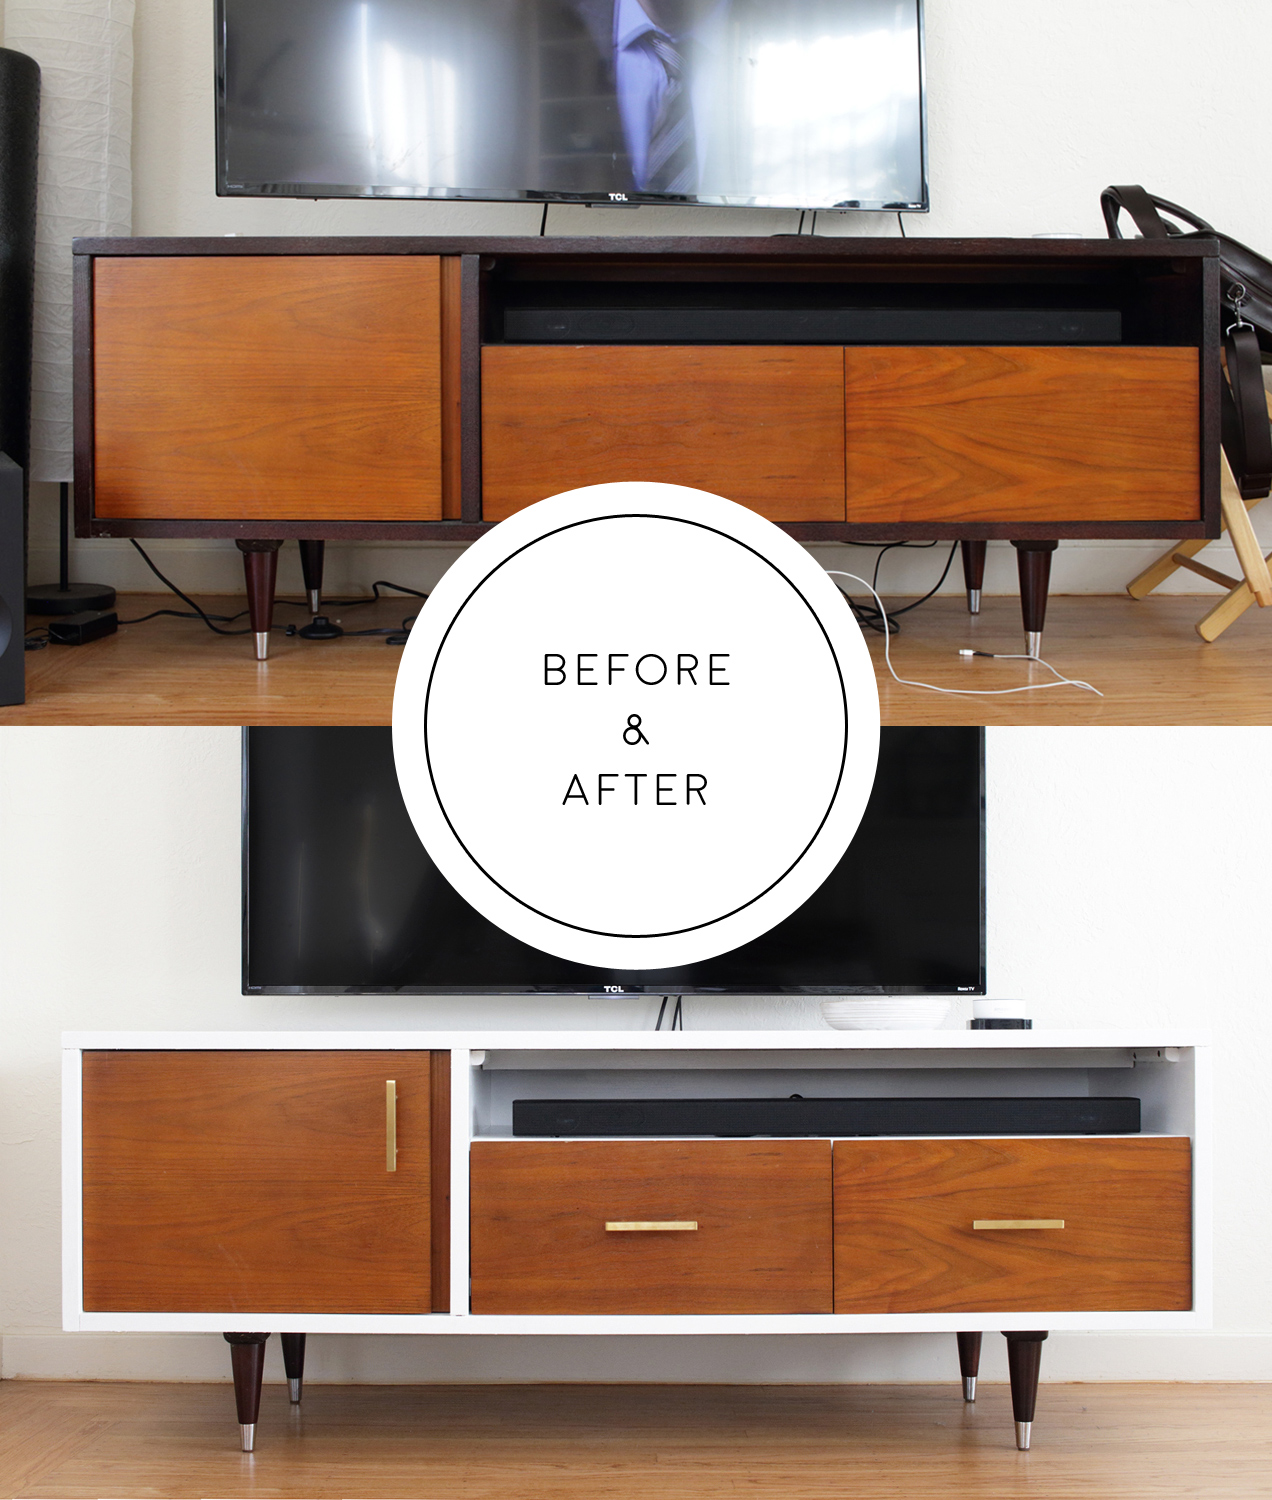
Before and After: Upcycling a Media Console for $10
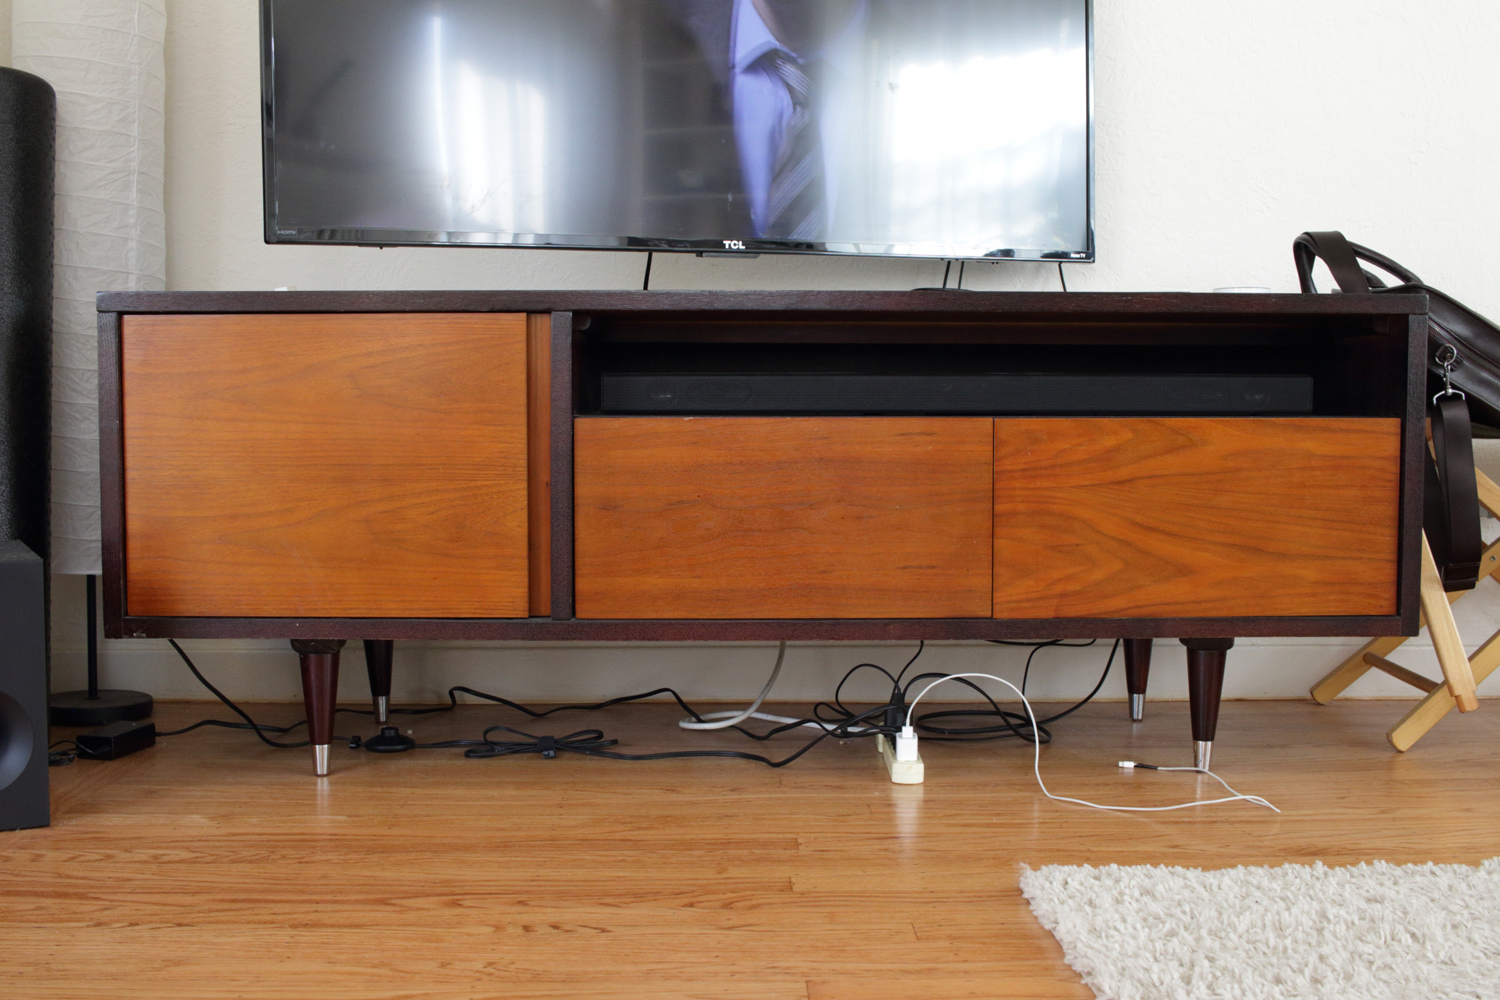
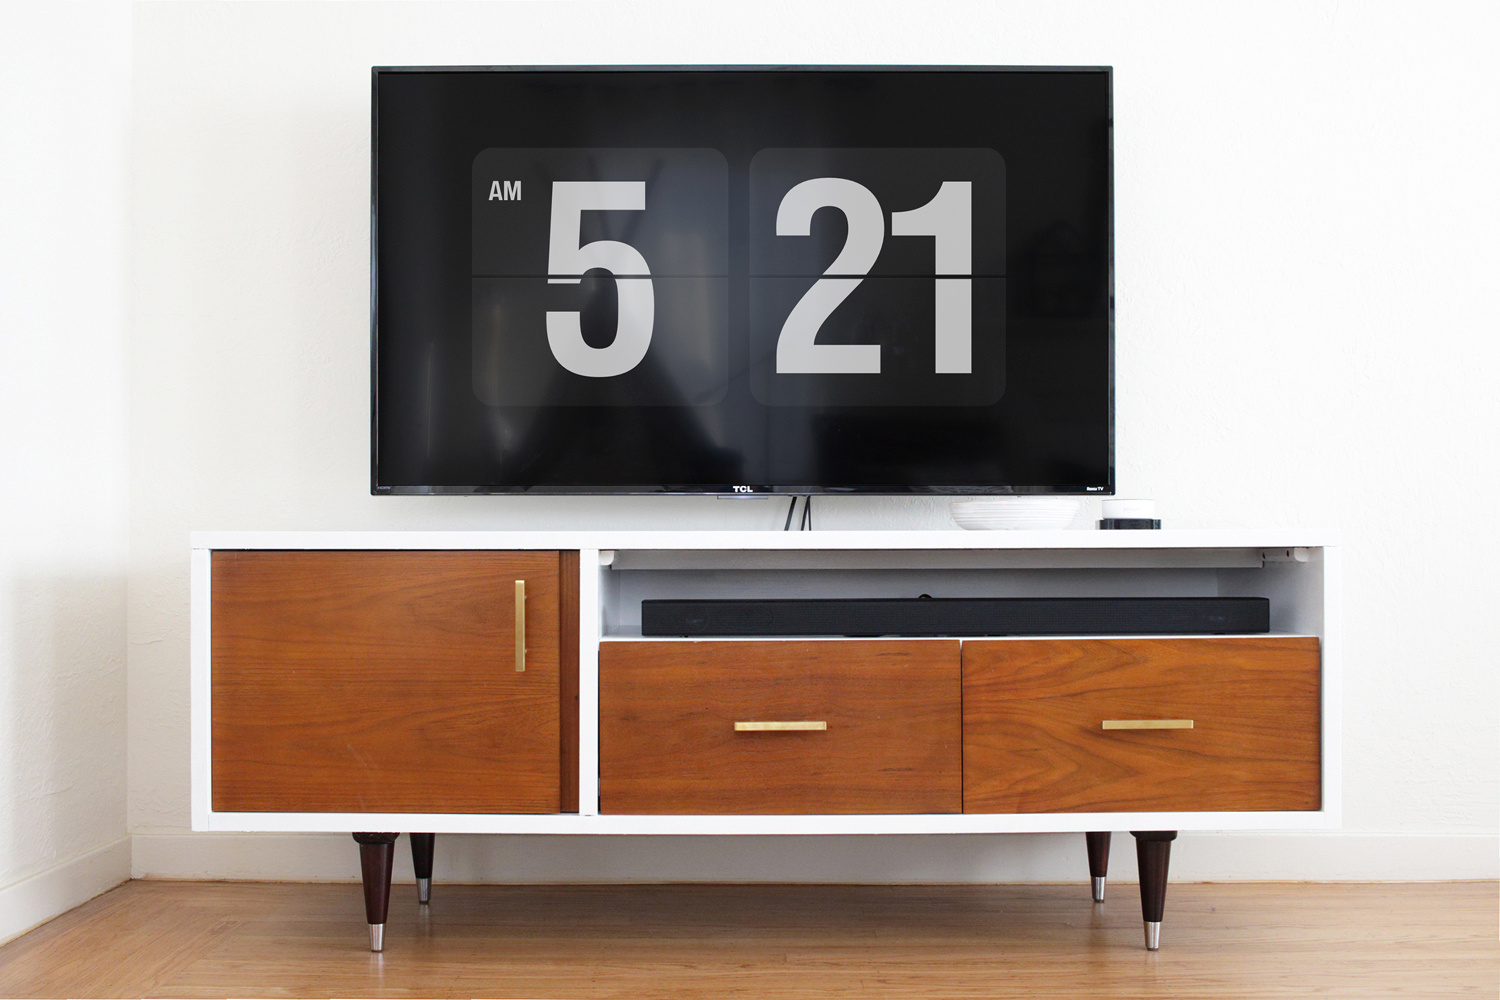
I love getting free furniture and I happened to get this great media console when I needed it the most. The console itself was in good condition but it felt visually heavy and dark in my living room. My good friends gave it to me when they moved so I was grateful to have it, but it needed a little update. I ended up holding off on the update for months because I’m great at procrastinating. Then I ended up getting the flu and was quarantined in my house, so I finally used the extra time to get this project done.
Clean up and Prep
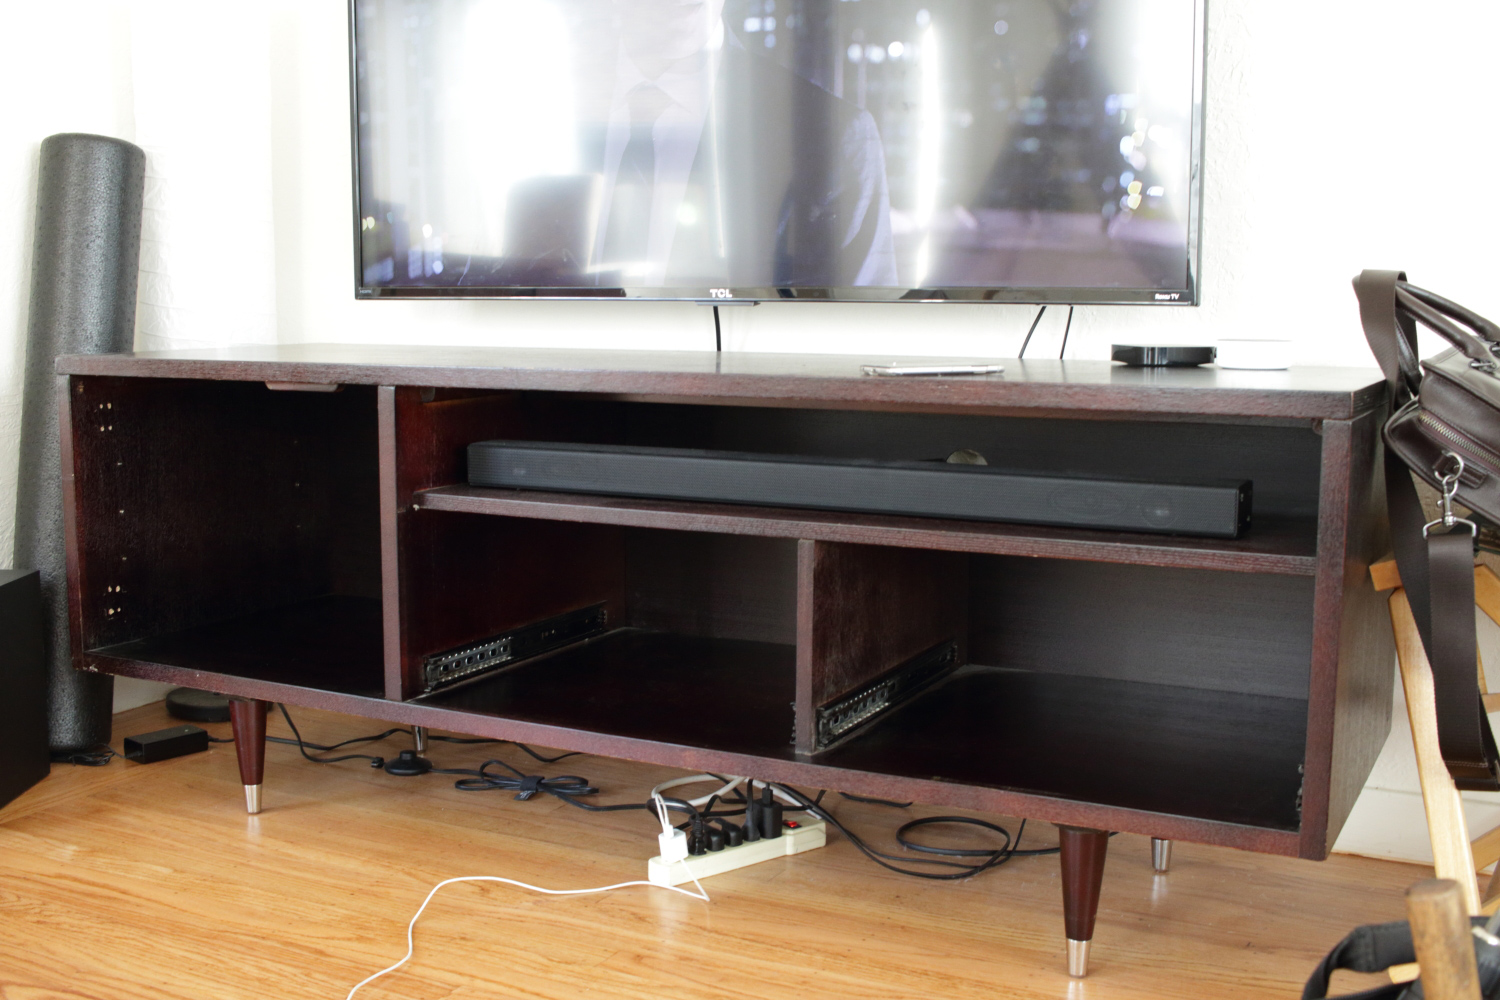
The first thing I had to do was clean the console. There were foam baby bumpers on the edges that I used Googone to remove. I unscrewed the door and removed the drawers. Then I wiped down the whole cabinet with a little bit of soap and water. After it dried, I removed any excess dust with a swiffer pad. Finally, I taped off the drawer tracks to prep for painting.
Paint
After the cleaning, I began painting the outside frame. I had some Behr Polar Bear White leftover from my kitchen cabinets, so that didn’t cost me a dime. I was worried the paint wouldn’t adhere to the console since it already to had a smooth finish, and I honestly didn’t feel like sanding and sending toxic particles into my living room (The console was so heavy and bulky I couldn’t move it anywhere else). Luckily, the Behr Marquee paint stuck like glue and I didn’t have any issues with it coming off.
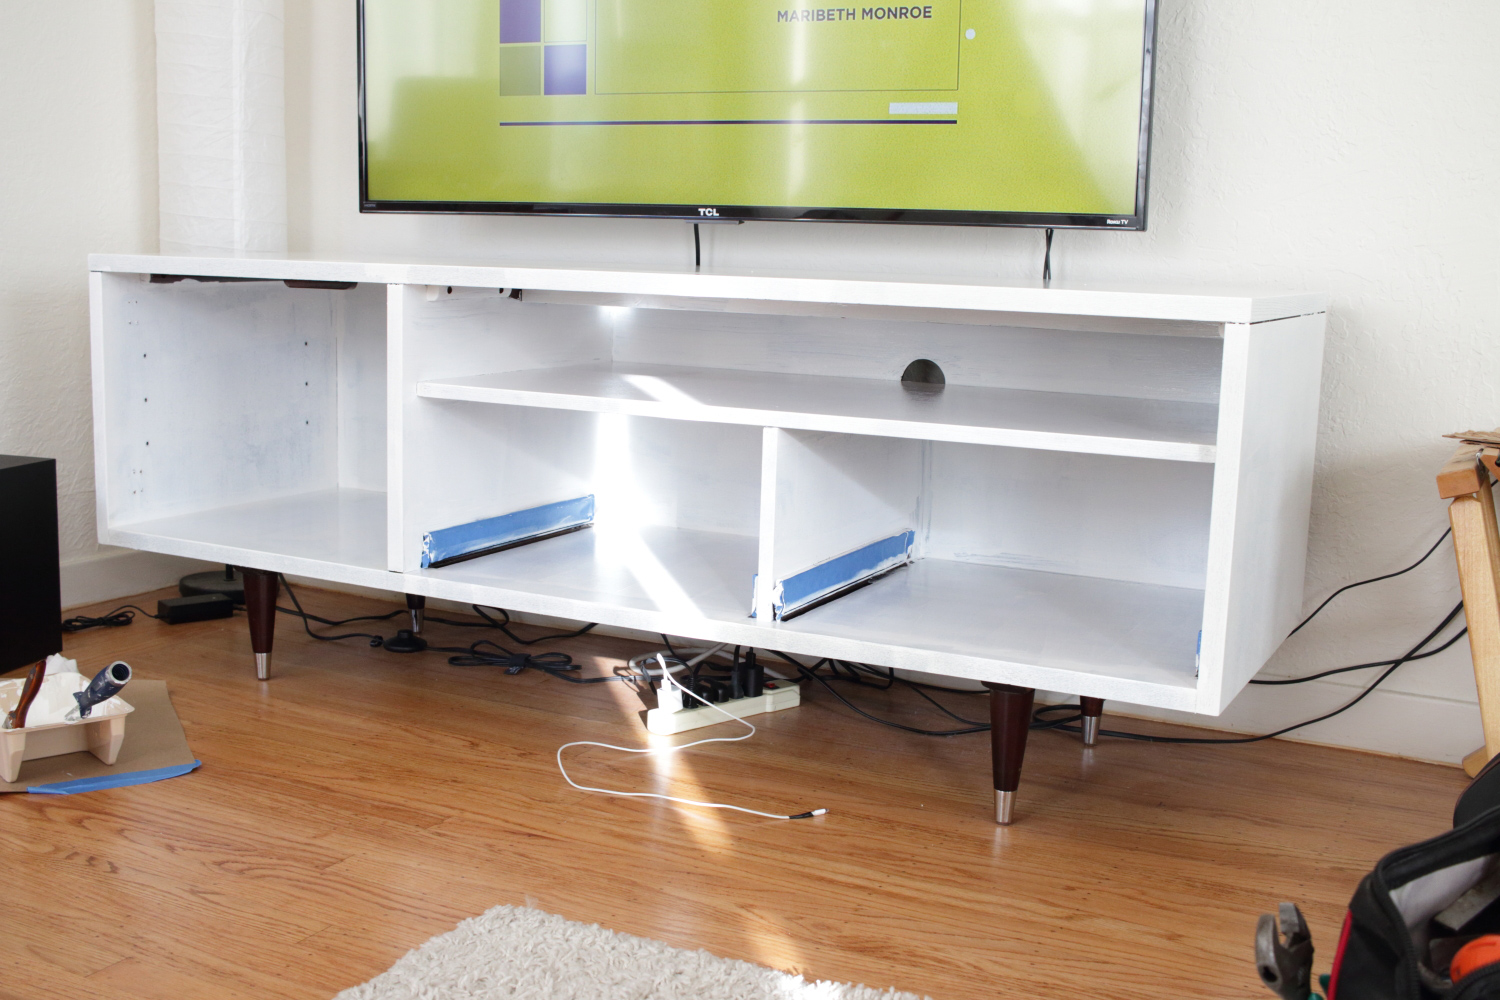
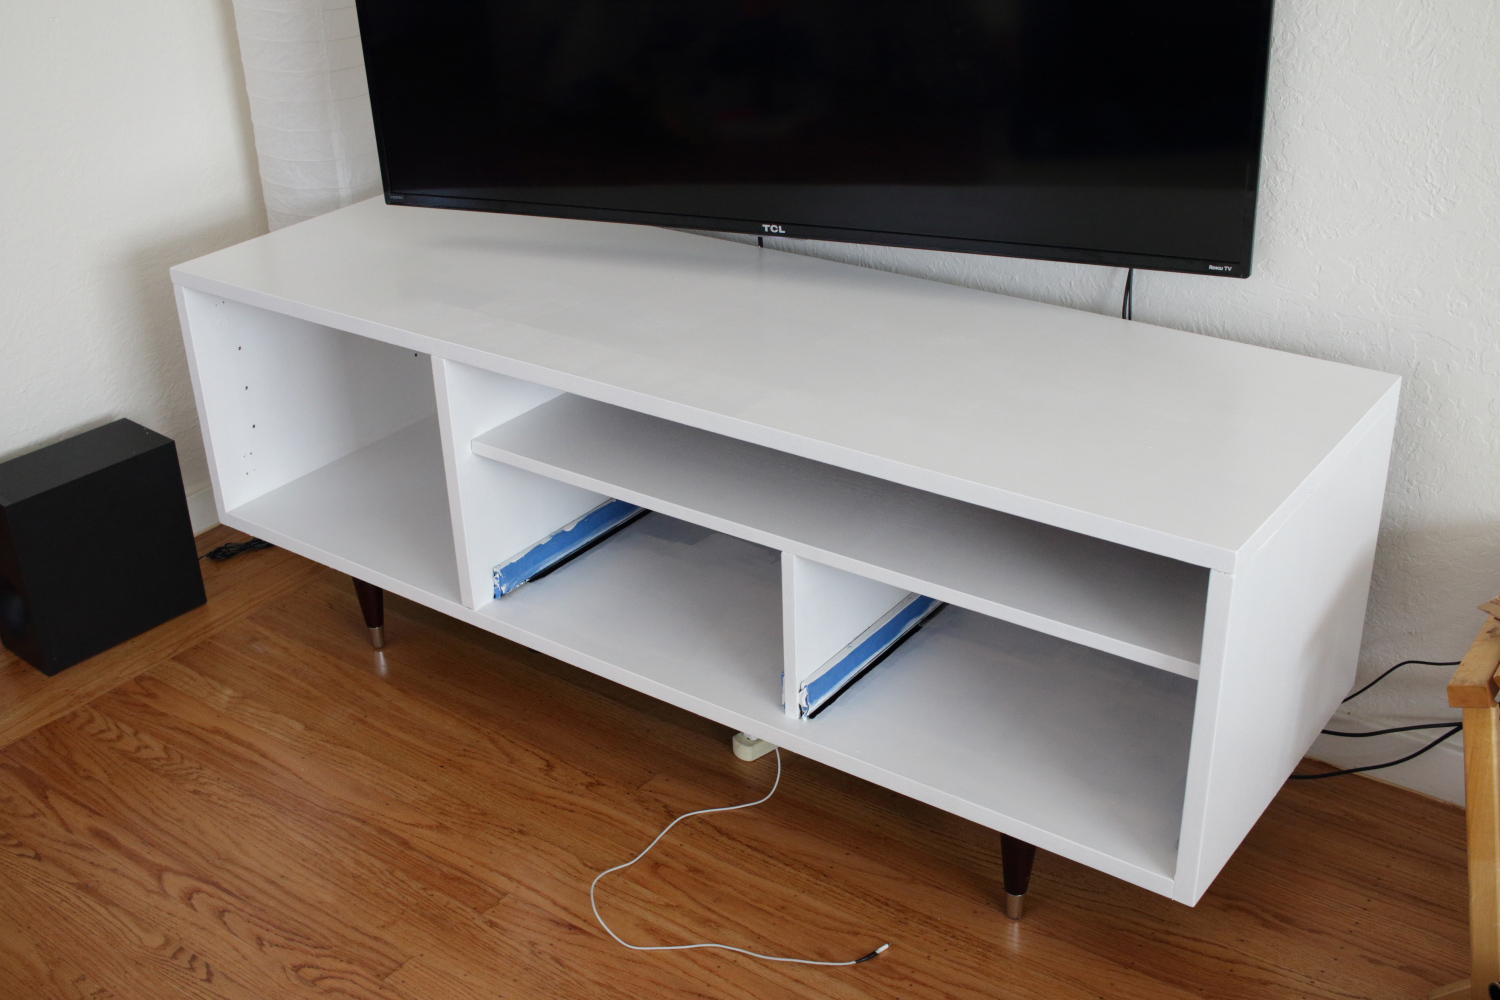
I did between 2 -3 coats of paint depending on how much of the original color was showing through. Some of the tannins from the wood were seeping through, so those were the sections I had to add more paint. I waited around 1-2 hours between coats. Afterwards, I let it dry for a full 24 hrs before putting the drawers and doors back in.
Adding Some Bling
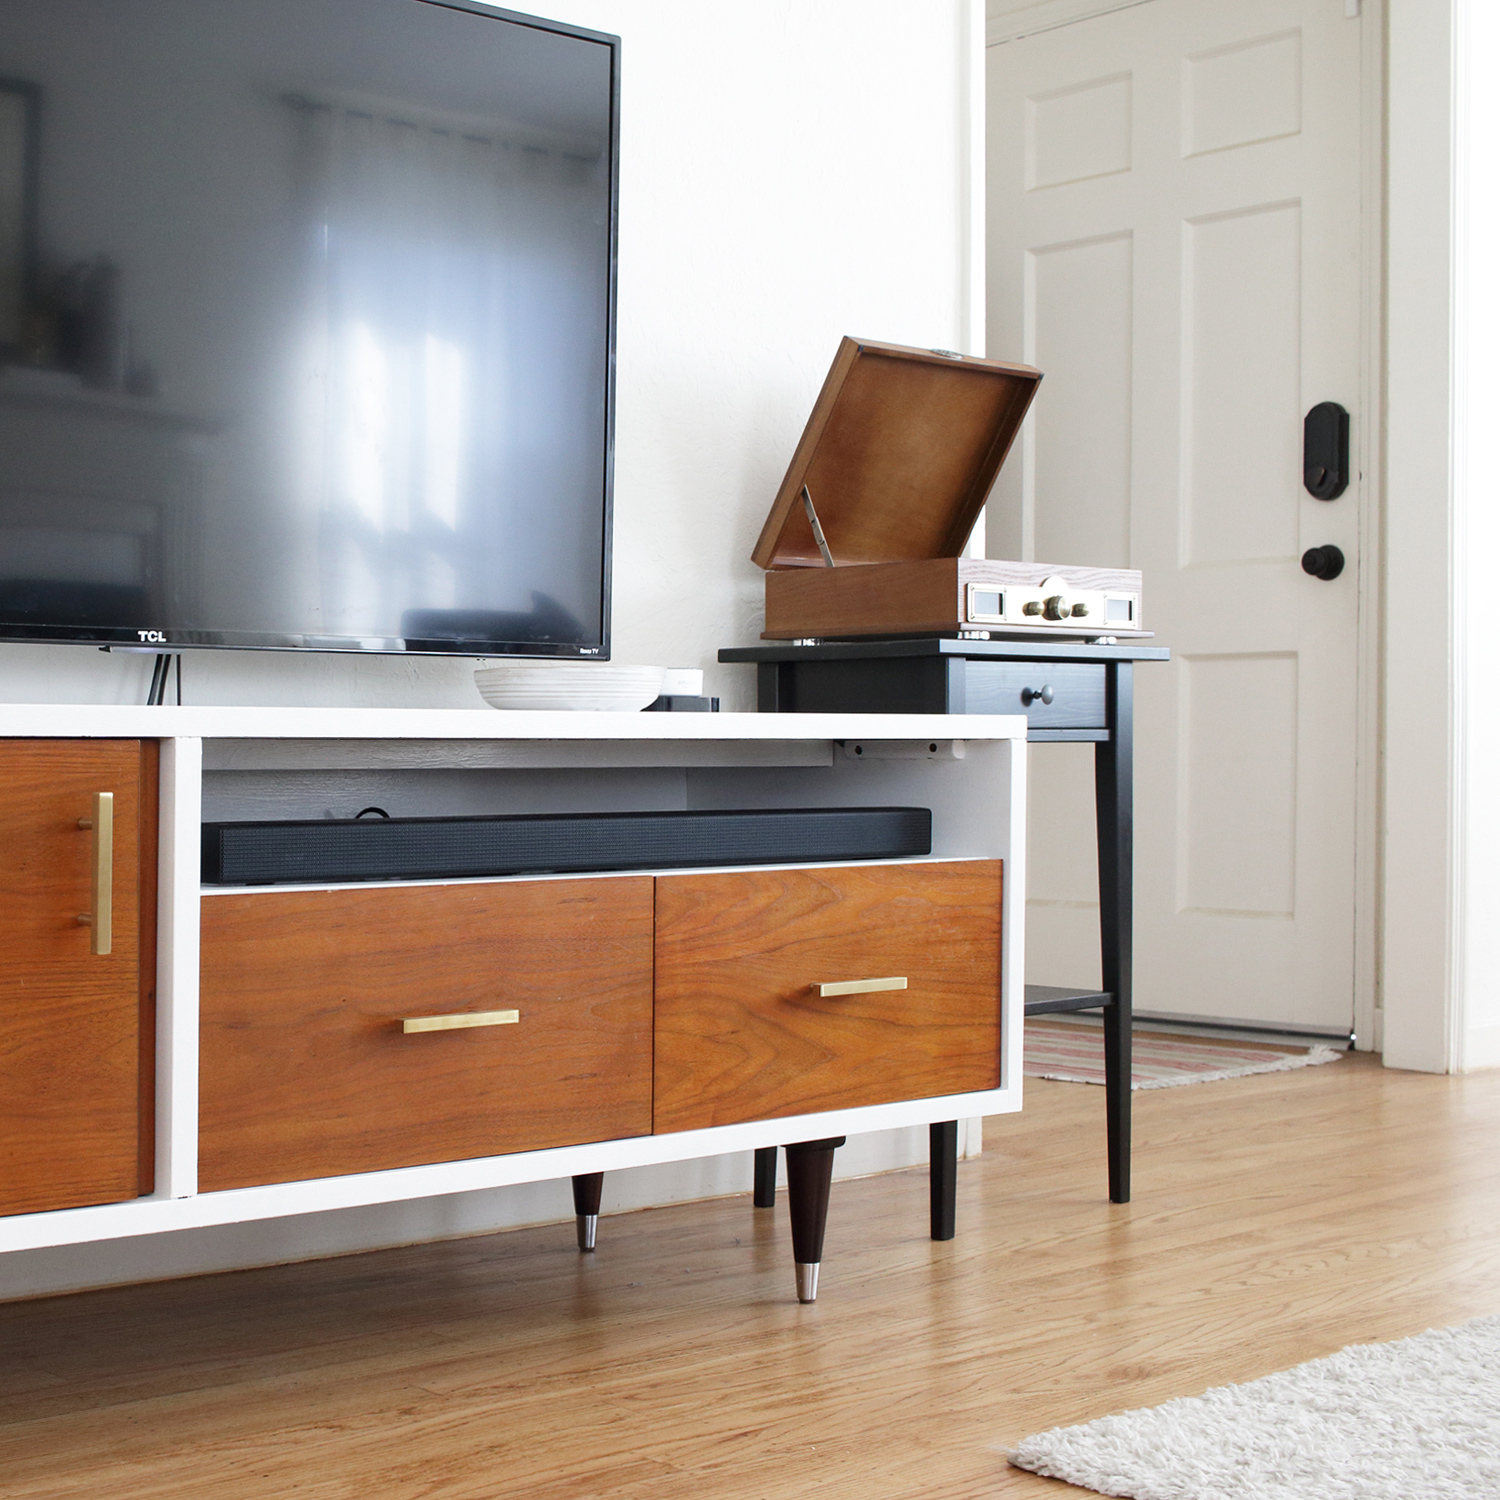
After the paint job was complete, I felt like something was missing so I added some brass hardware I found on Amazon which only cost me $10.00 (on sale) for 5 handles. Some of the reviews on the site said that the brass finish would come off in heavy use areas like a kitchen, but since I rarely open these drawers/doors, I figured they were fine.
Cord Cleanup
To clean up the cords, I mounted the power strip on the backside of the console using 3M strips. Now there were no cords cluttering up the floor and everything looked a lot tidier.
I’m really happy with the way the media console came out. It fits a lot better with my living room decor and best of all, it only cost me $10!
