Make Your Own Teepee (No Sewing)
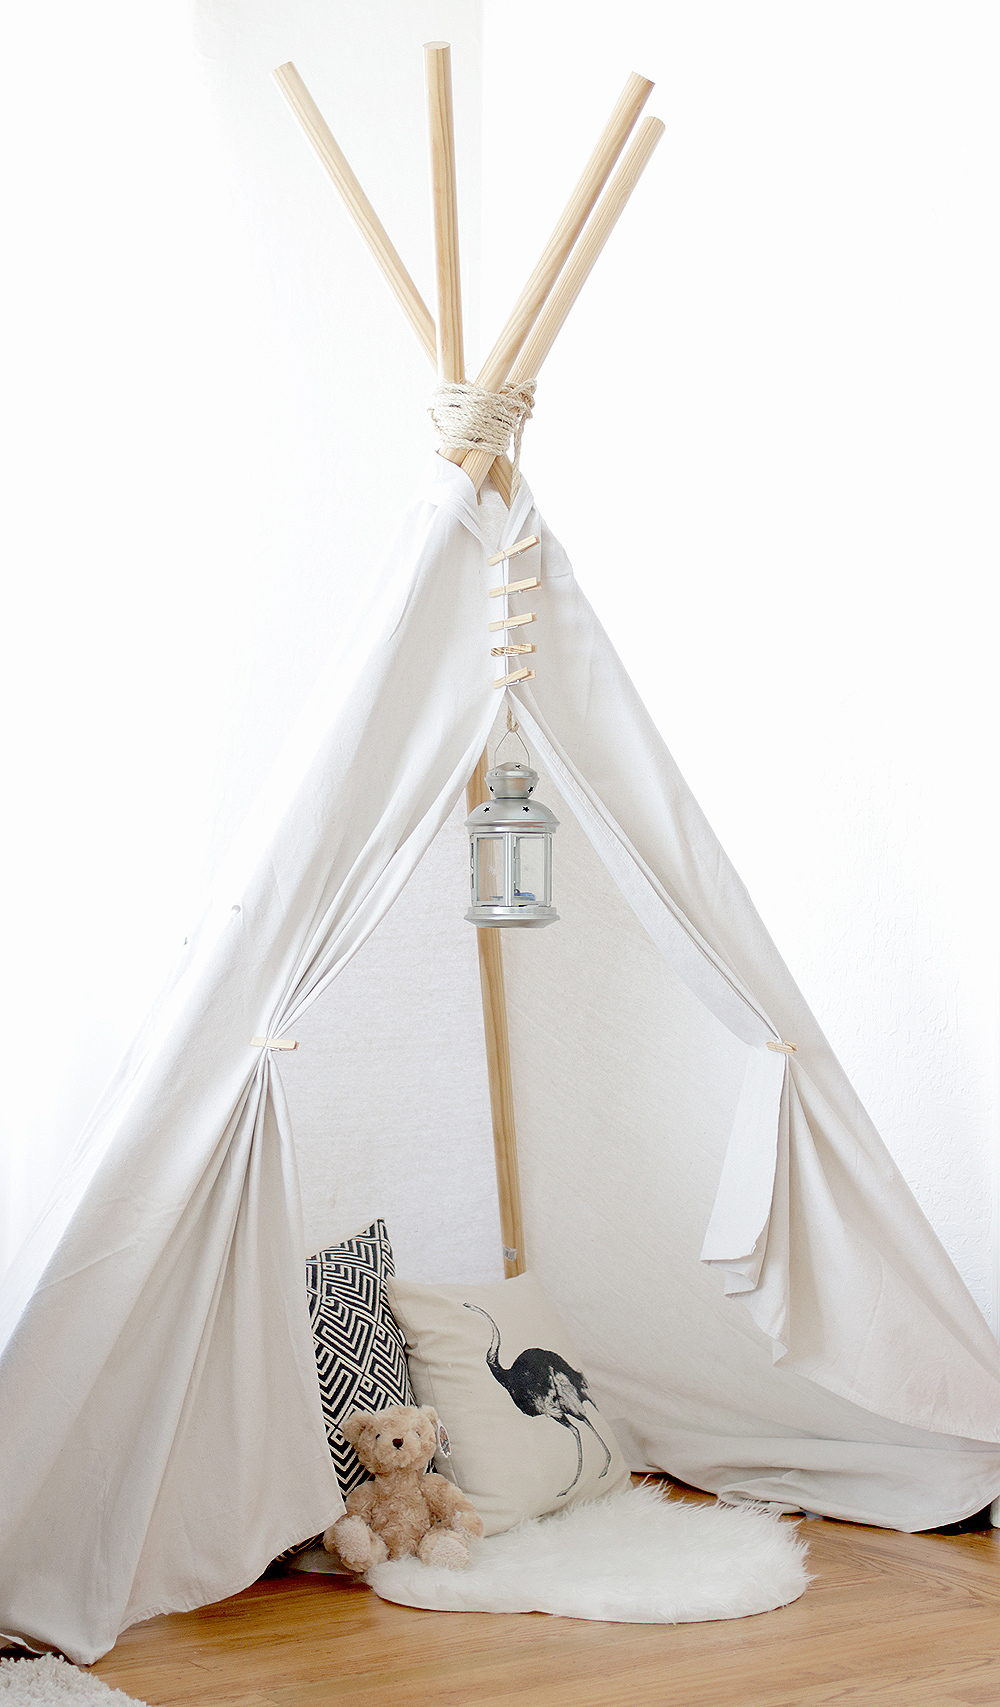
I made this teepee for my god kids. They come over at least once a week so I wanted something in the house that they would have a lot of fun with but would still look good in the house if I didn’t feel like putting it away.
There is absolutely no sewing involved in this design. All the materials cost a total of $60. The dowels were the most expensive component. You can save a lot of money by looking for long branches outside and using an old bedsheet instead of a drop cloth. The rest of the materials I already had lying around, but you get them for pretty cheap.
Materials:
- (4) 8 ft dowels $40
- 9′ x 12′ Canvas drop cloth (you can find these in the painters aisle for $20)
- Rope (make sure you buy rope that can fit into the holes that you drill)
- Thumbtacks
- Wooden clothes pins
Tools:
- Drill
- Hammer
Prep Tip: Iron your drop cloth beforehand.
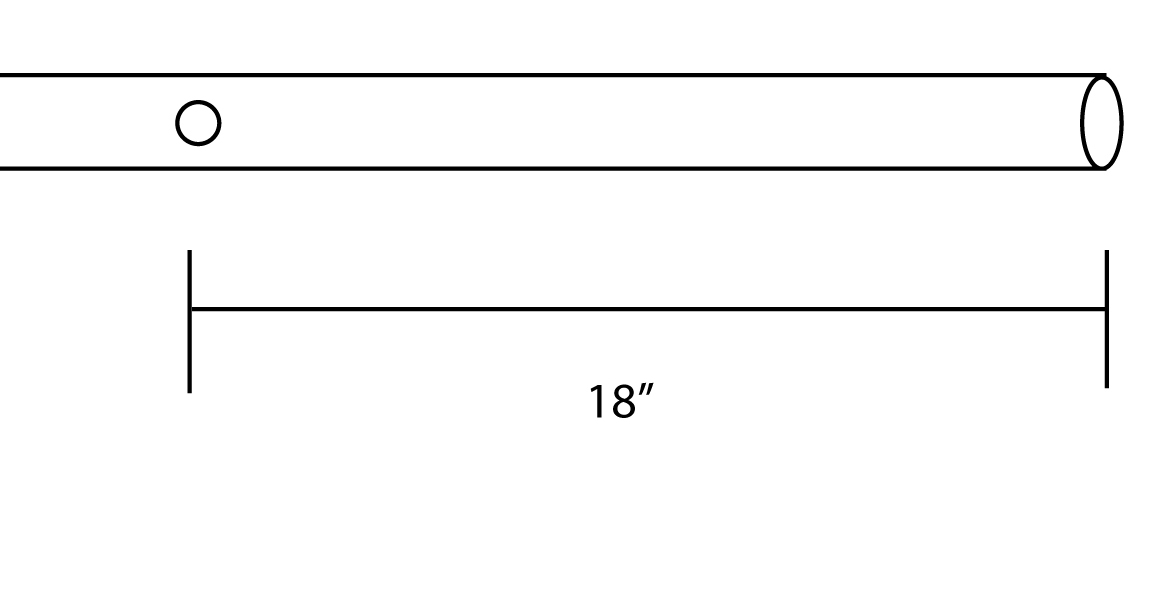
1. Drill a hole in each dowel 18 inches from the end.
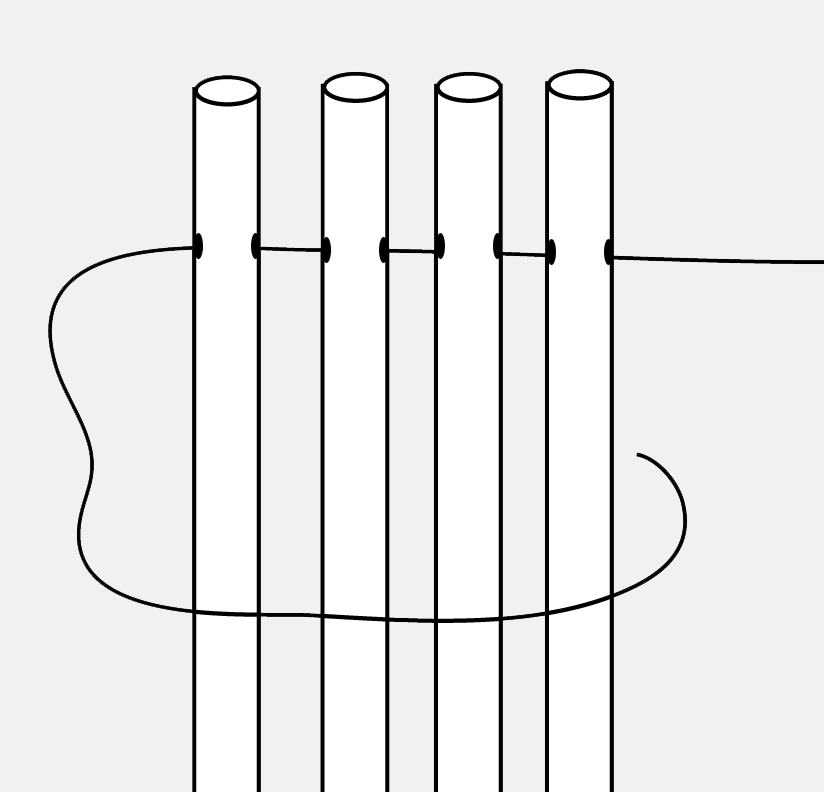
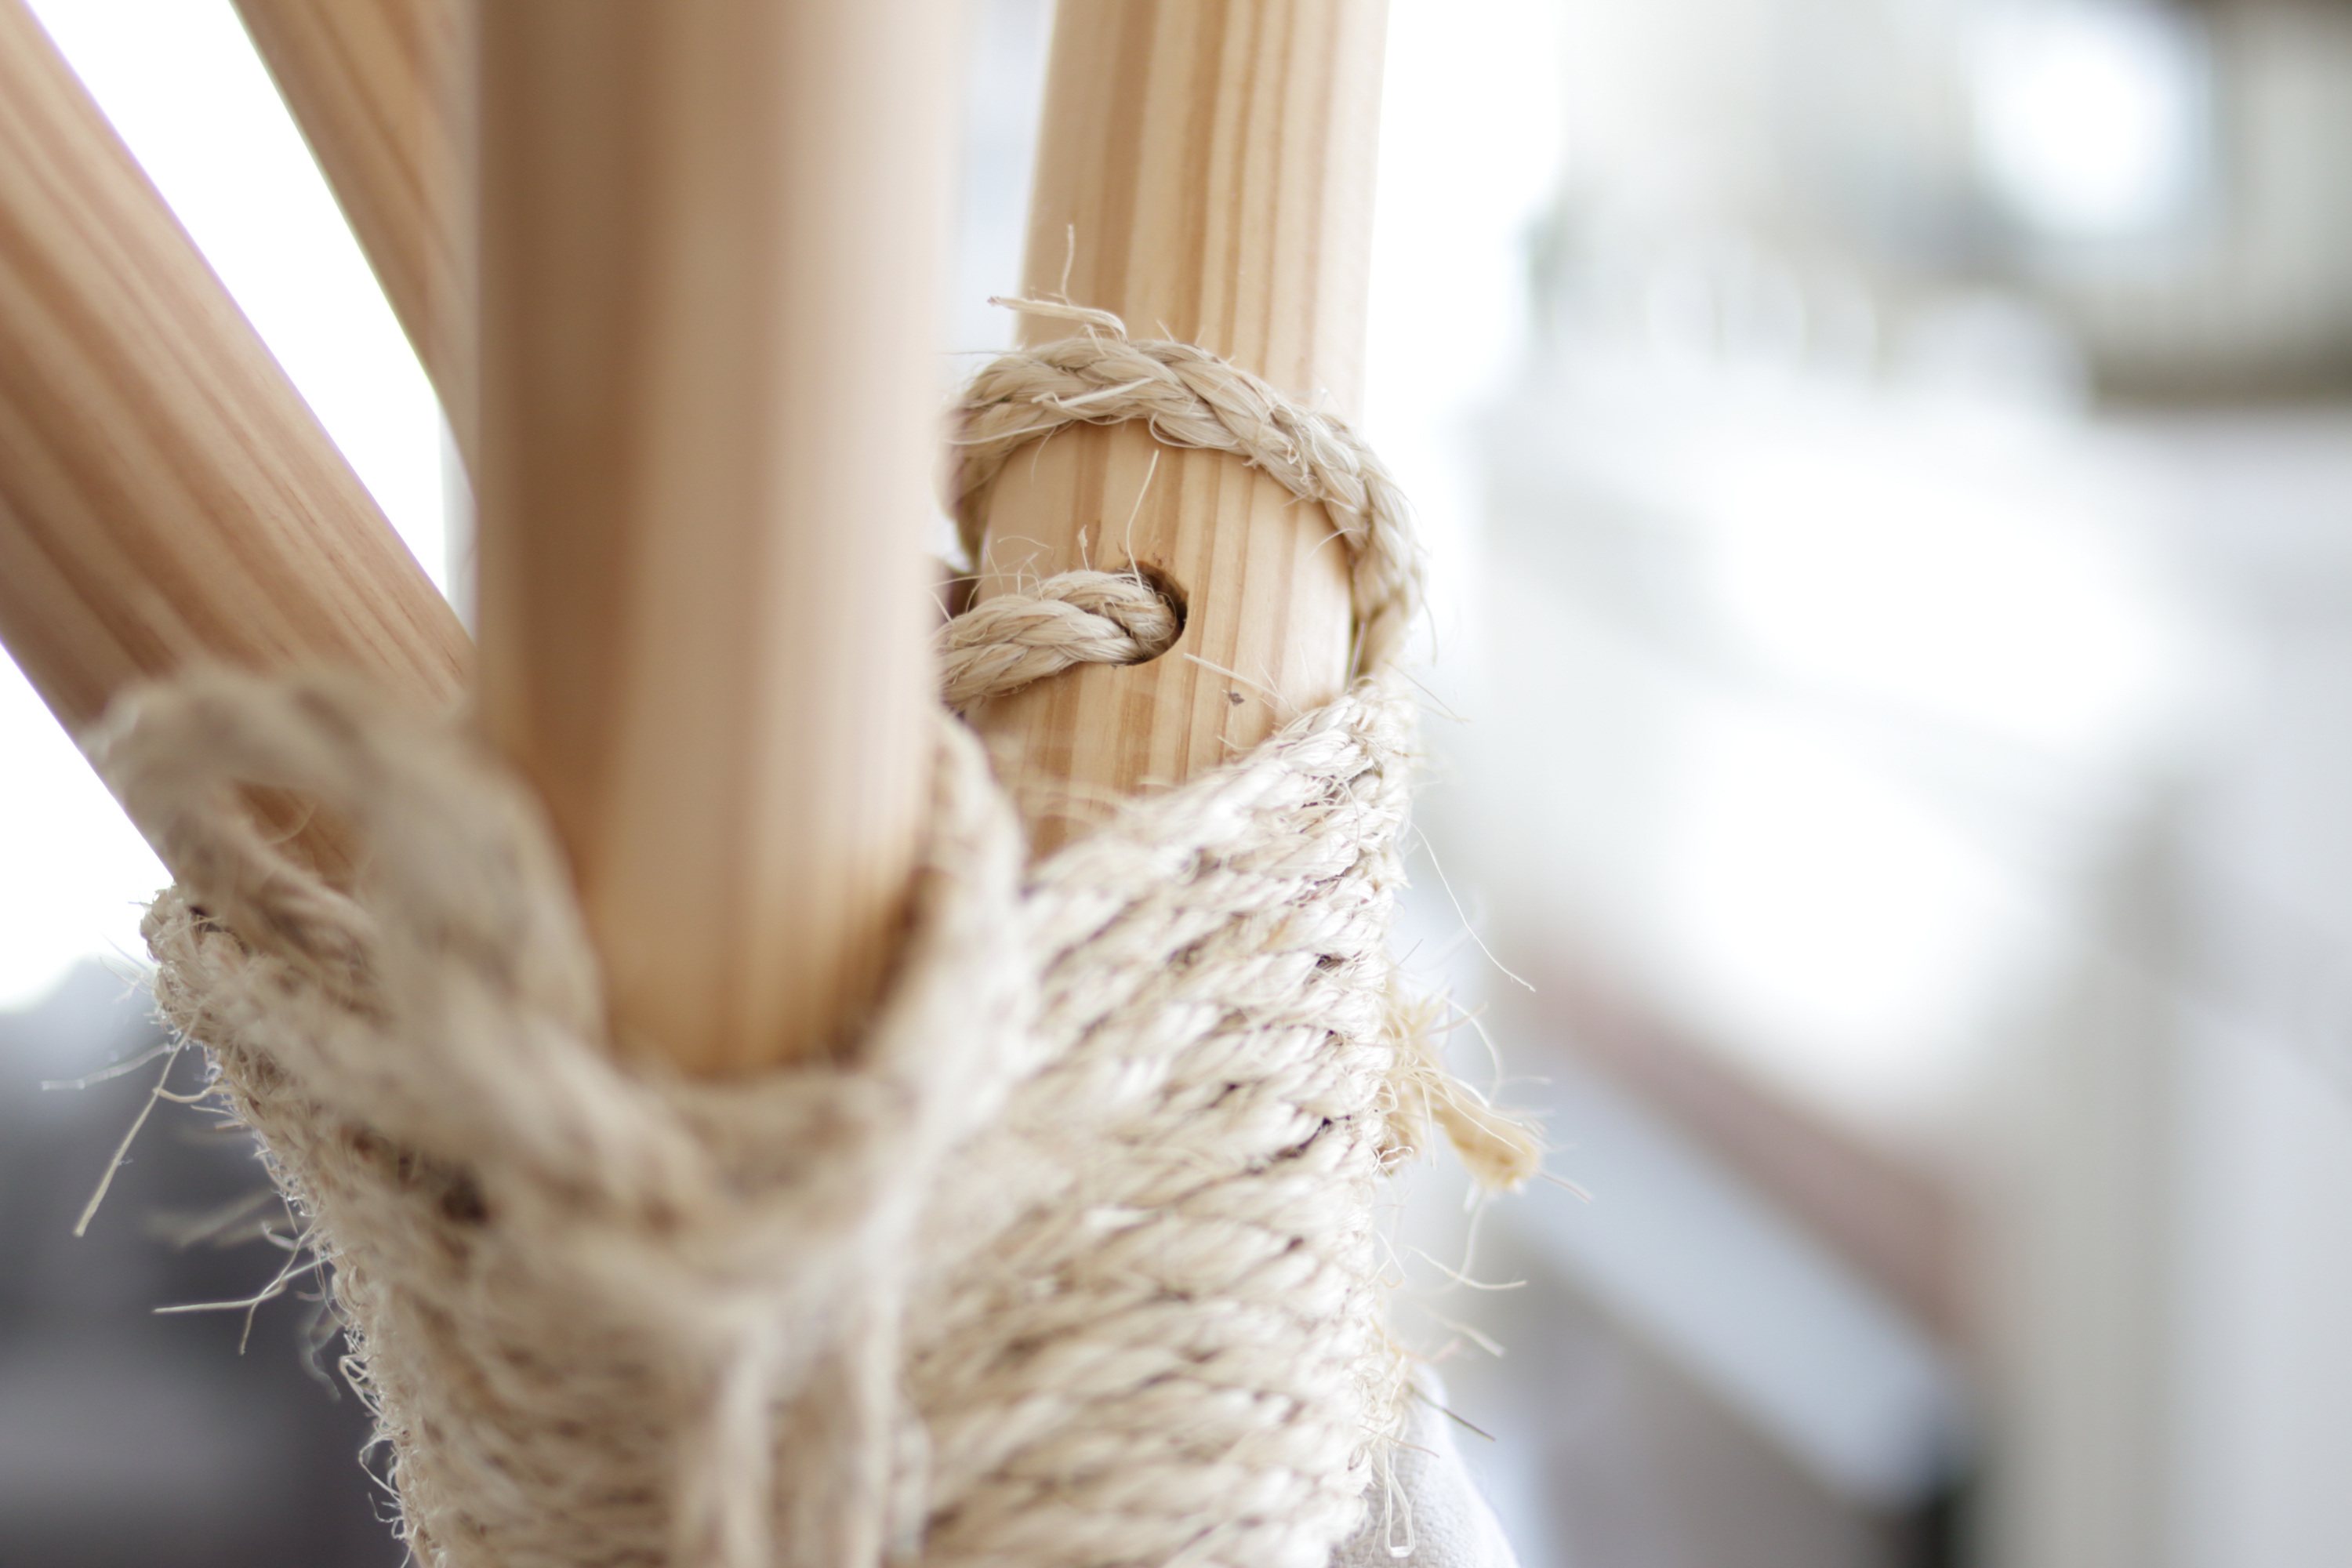
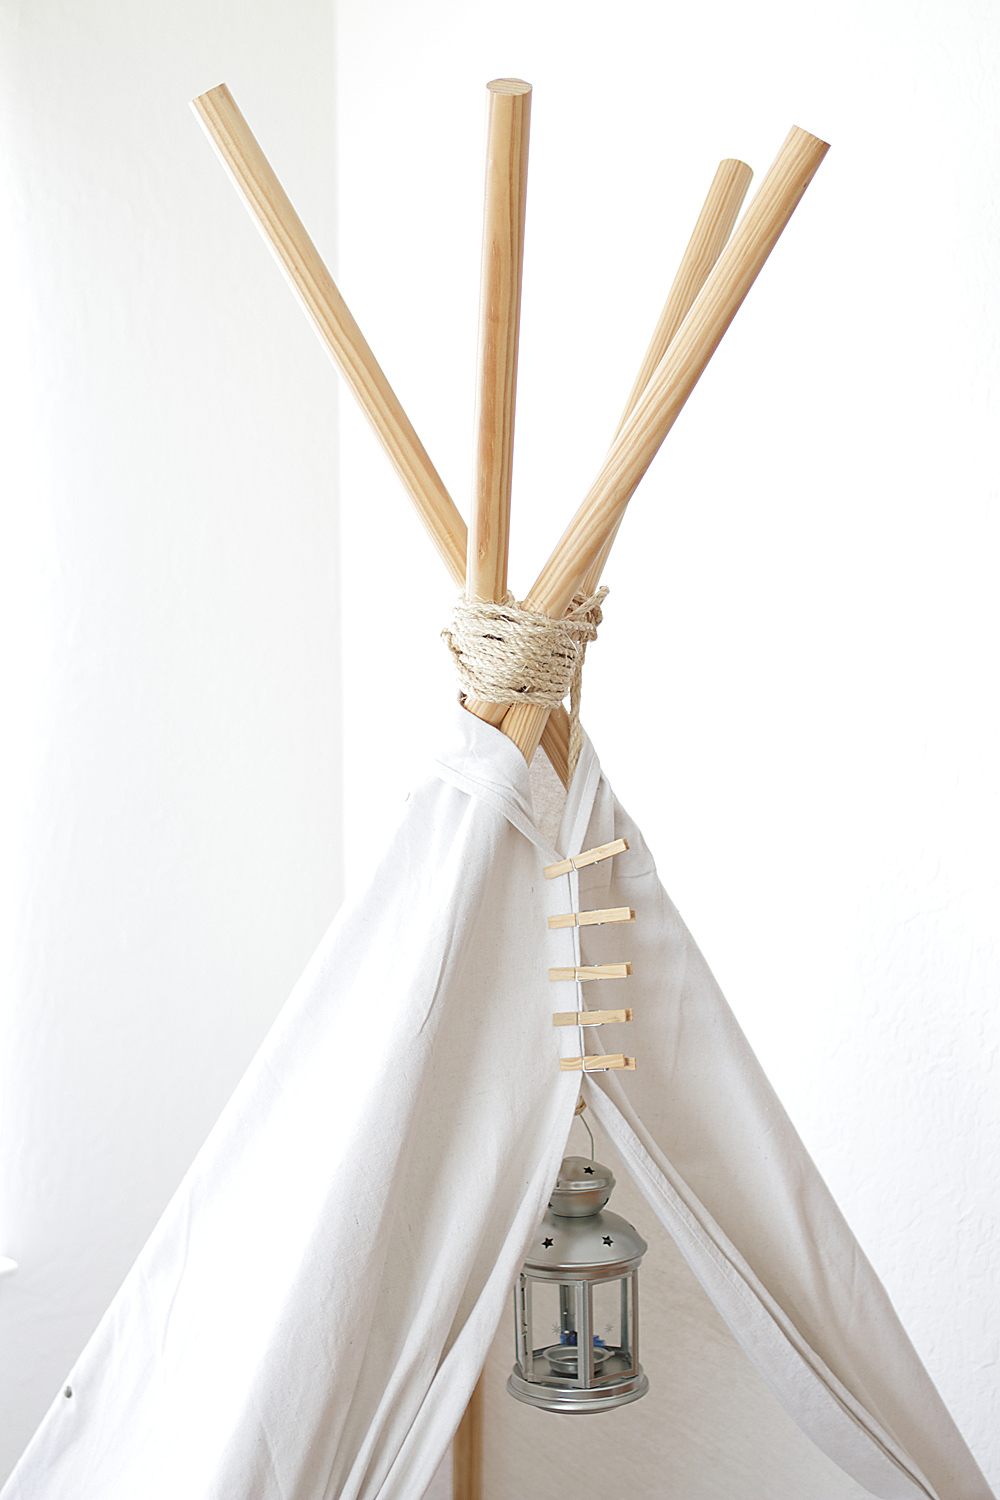
2. Thread the rope into all the holes and then proceed to wrap the rope around the dowels like you’re wrapping a bundle of sticks. Be sure to wrap it pretty tight, but make sure it’s not so tight that the dowels can’t spread out. Tie it off with a knot around one of the poles. Don’t get too fussy with this or try to make it look perfect. It’ll look great even if it’s a little messy. If you find that you tied it too tight or too loose, just undo the knot and adjust it accordingly.
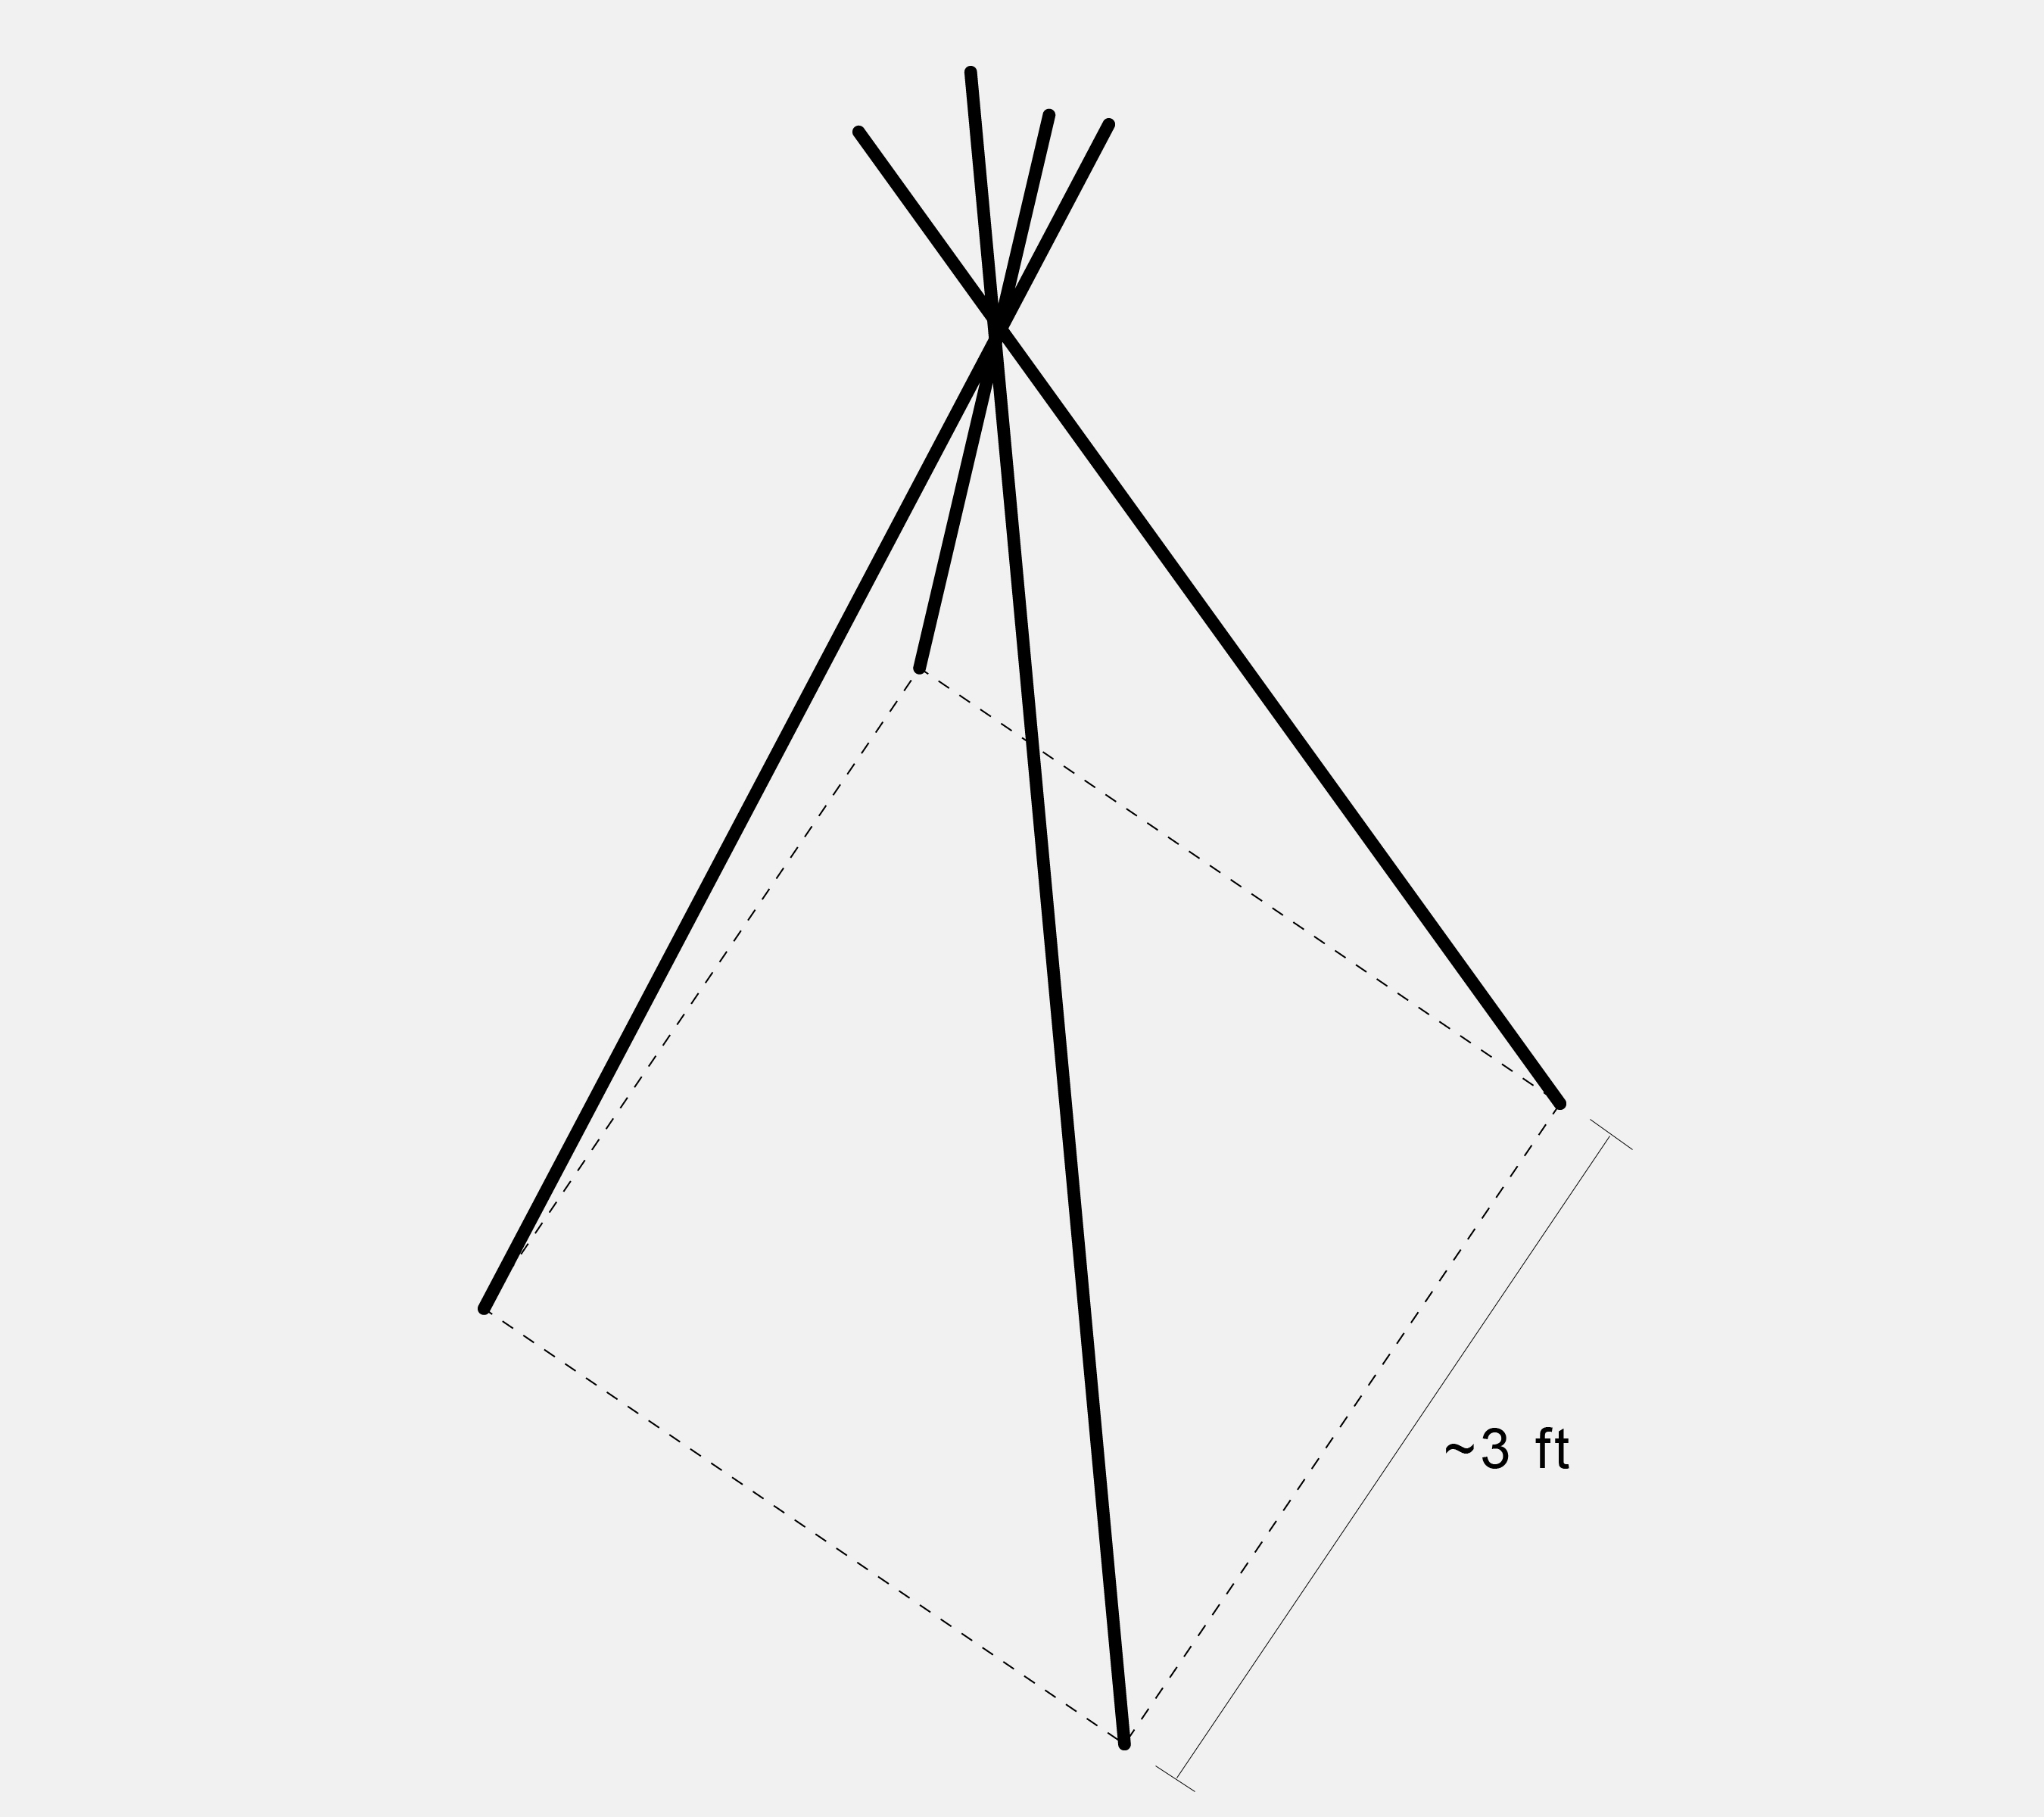
3. Position your dowels in the configuration you like. Your goal should be to create four points of a square at the bottom of the teepee with each side roughly 3 ft long. Again, perfection isn’t all that important as long as you get the general shape. It’s probably best to do this on a rug so that the dowels don’t slip out of position.
4. Once you’re satisfied with the shape, drape the canvas cloth over the poles as if you were wrapping someone in a blanket. You’ll probably have to shift the cloth around until you find the best coverage.
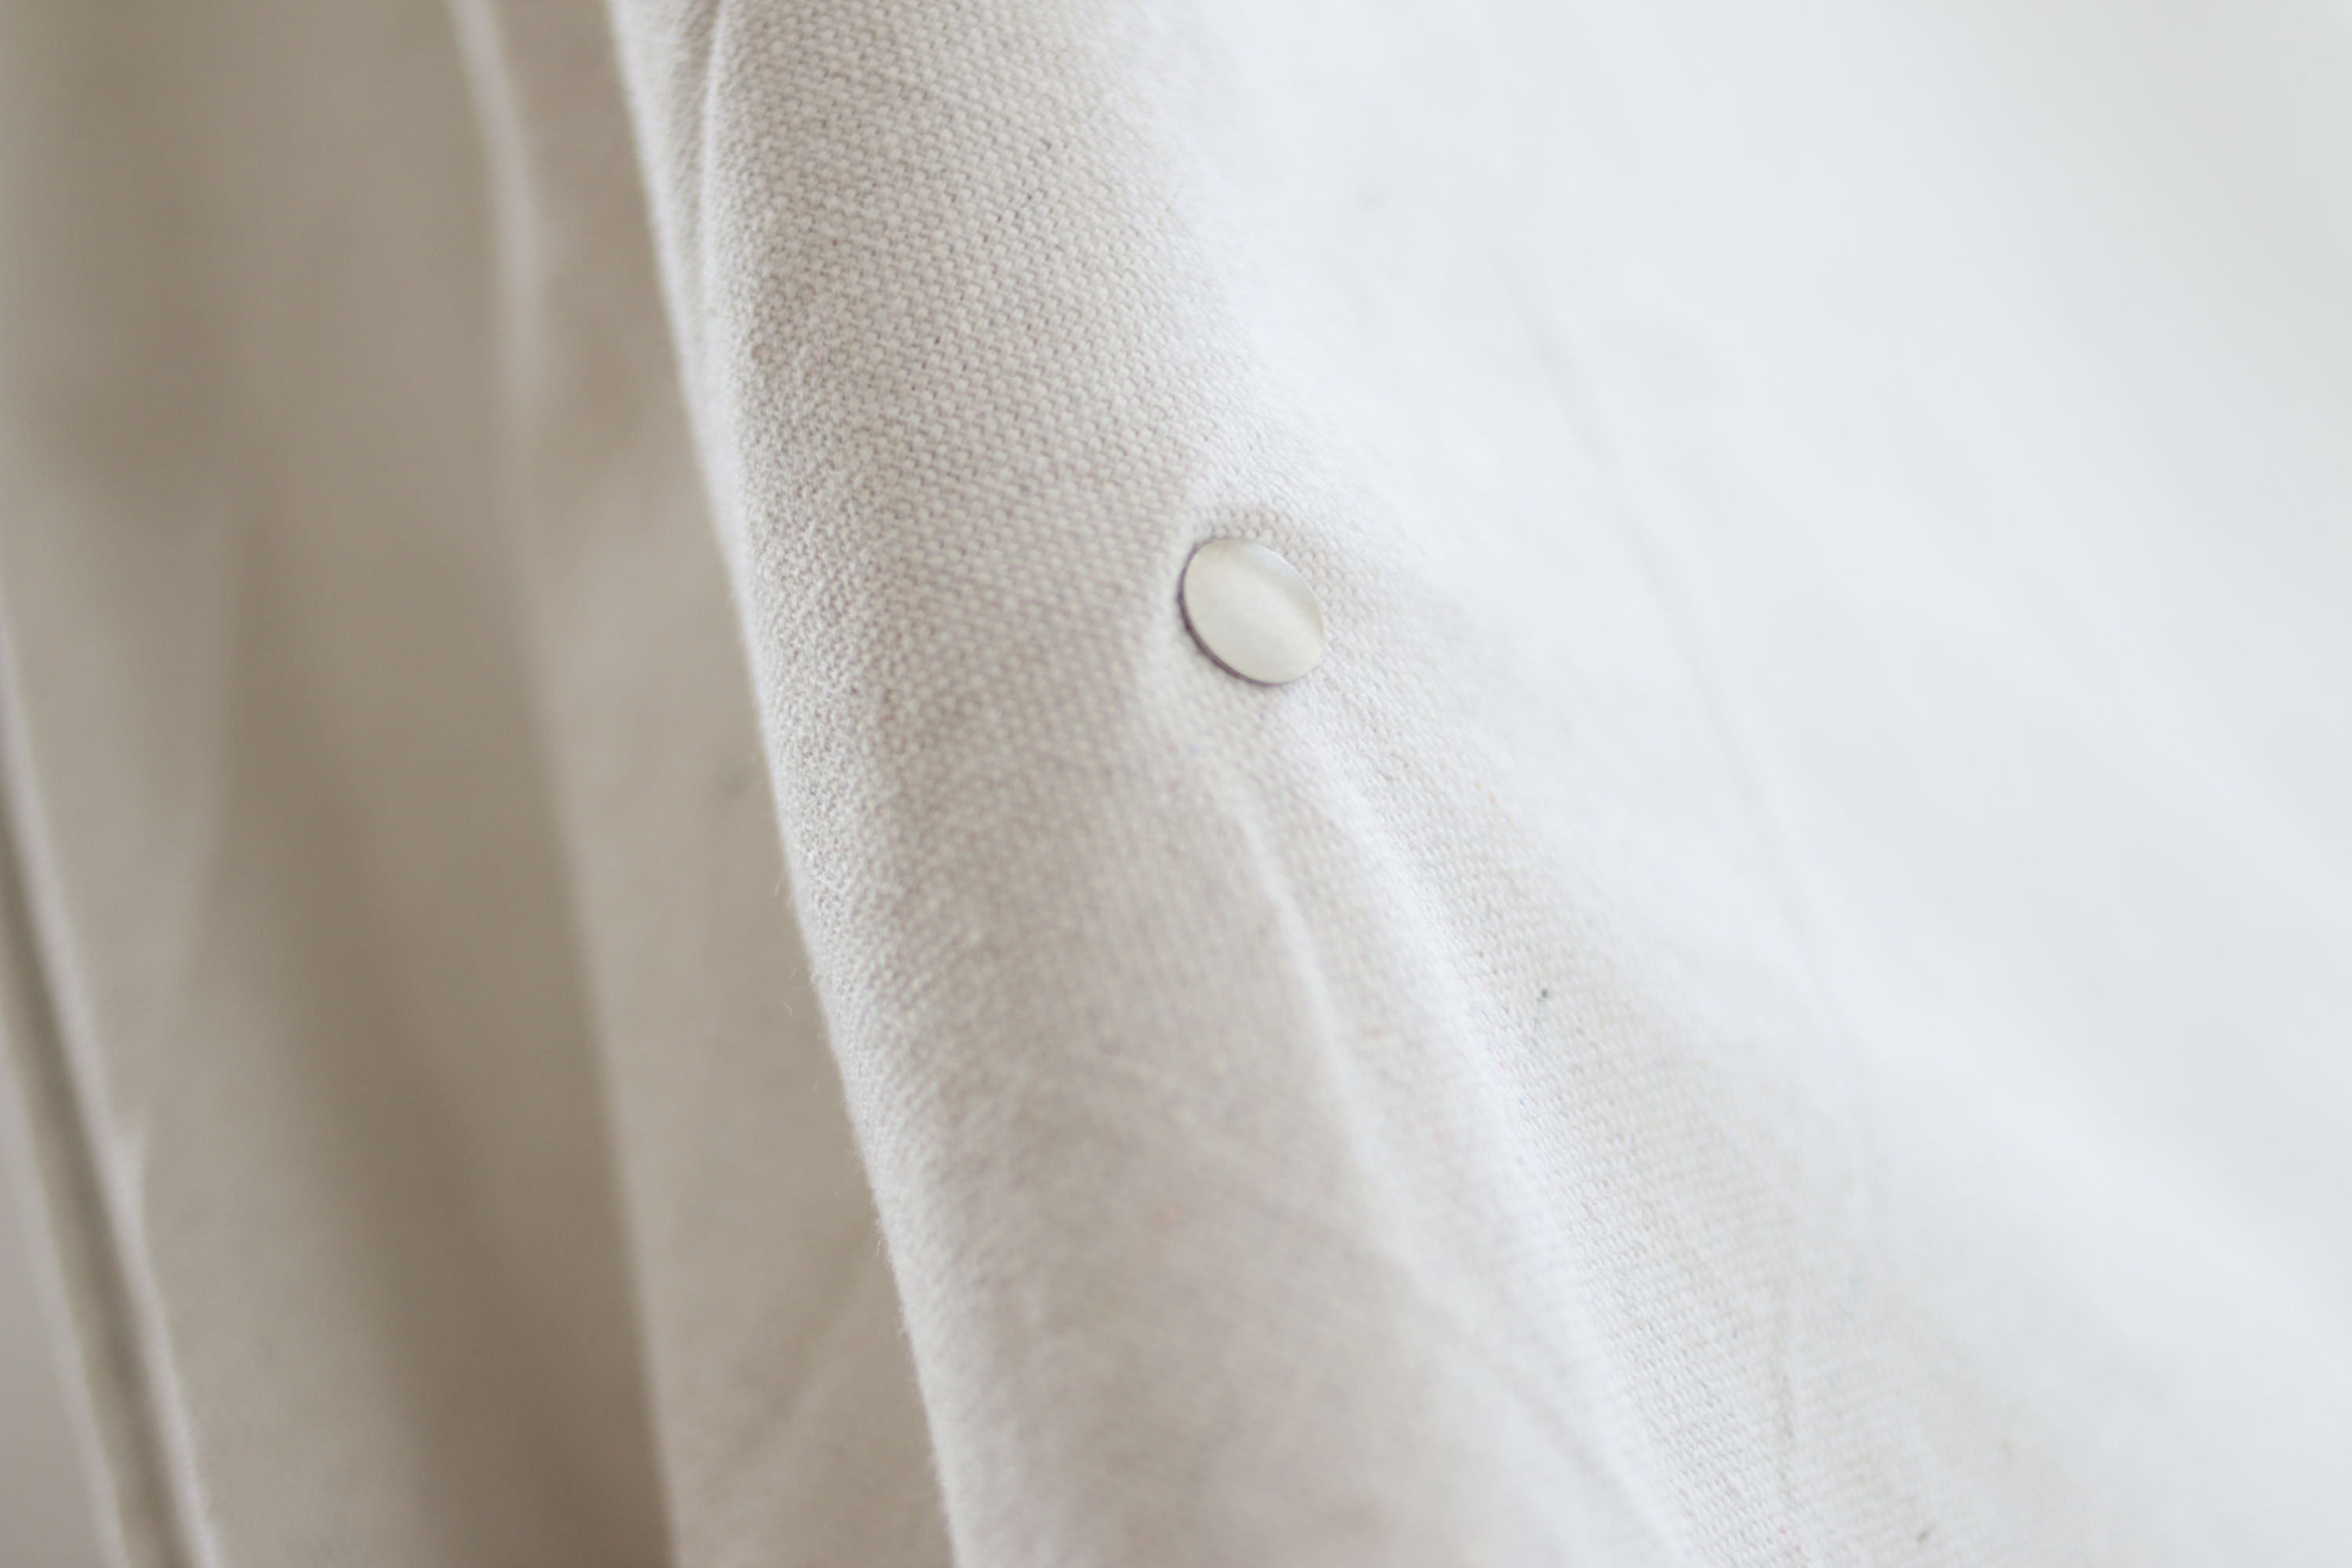
5. Once you like your canvas position use your thumbtacks to secure the fabric to the dowels. You may need a hammer if the thumbtacks are not going in easily. I used three thumbtacks per dowel. One at the top, one at the middle and one on the bottom. Once the thumbtacks are secure, you can move your teepee around to wherever you want to place it. Note: You could trim off the excess fabric on the bottom for a cleaner look, but I liked the way the canvas cascaded at the foot of the teepee.
6. Use the clothespins to secure the top part of the teepee and to hold open the entrance flaps.
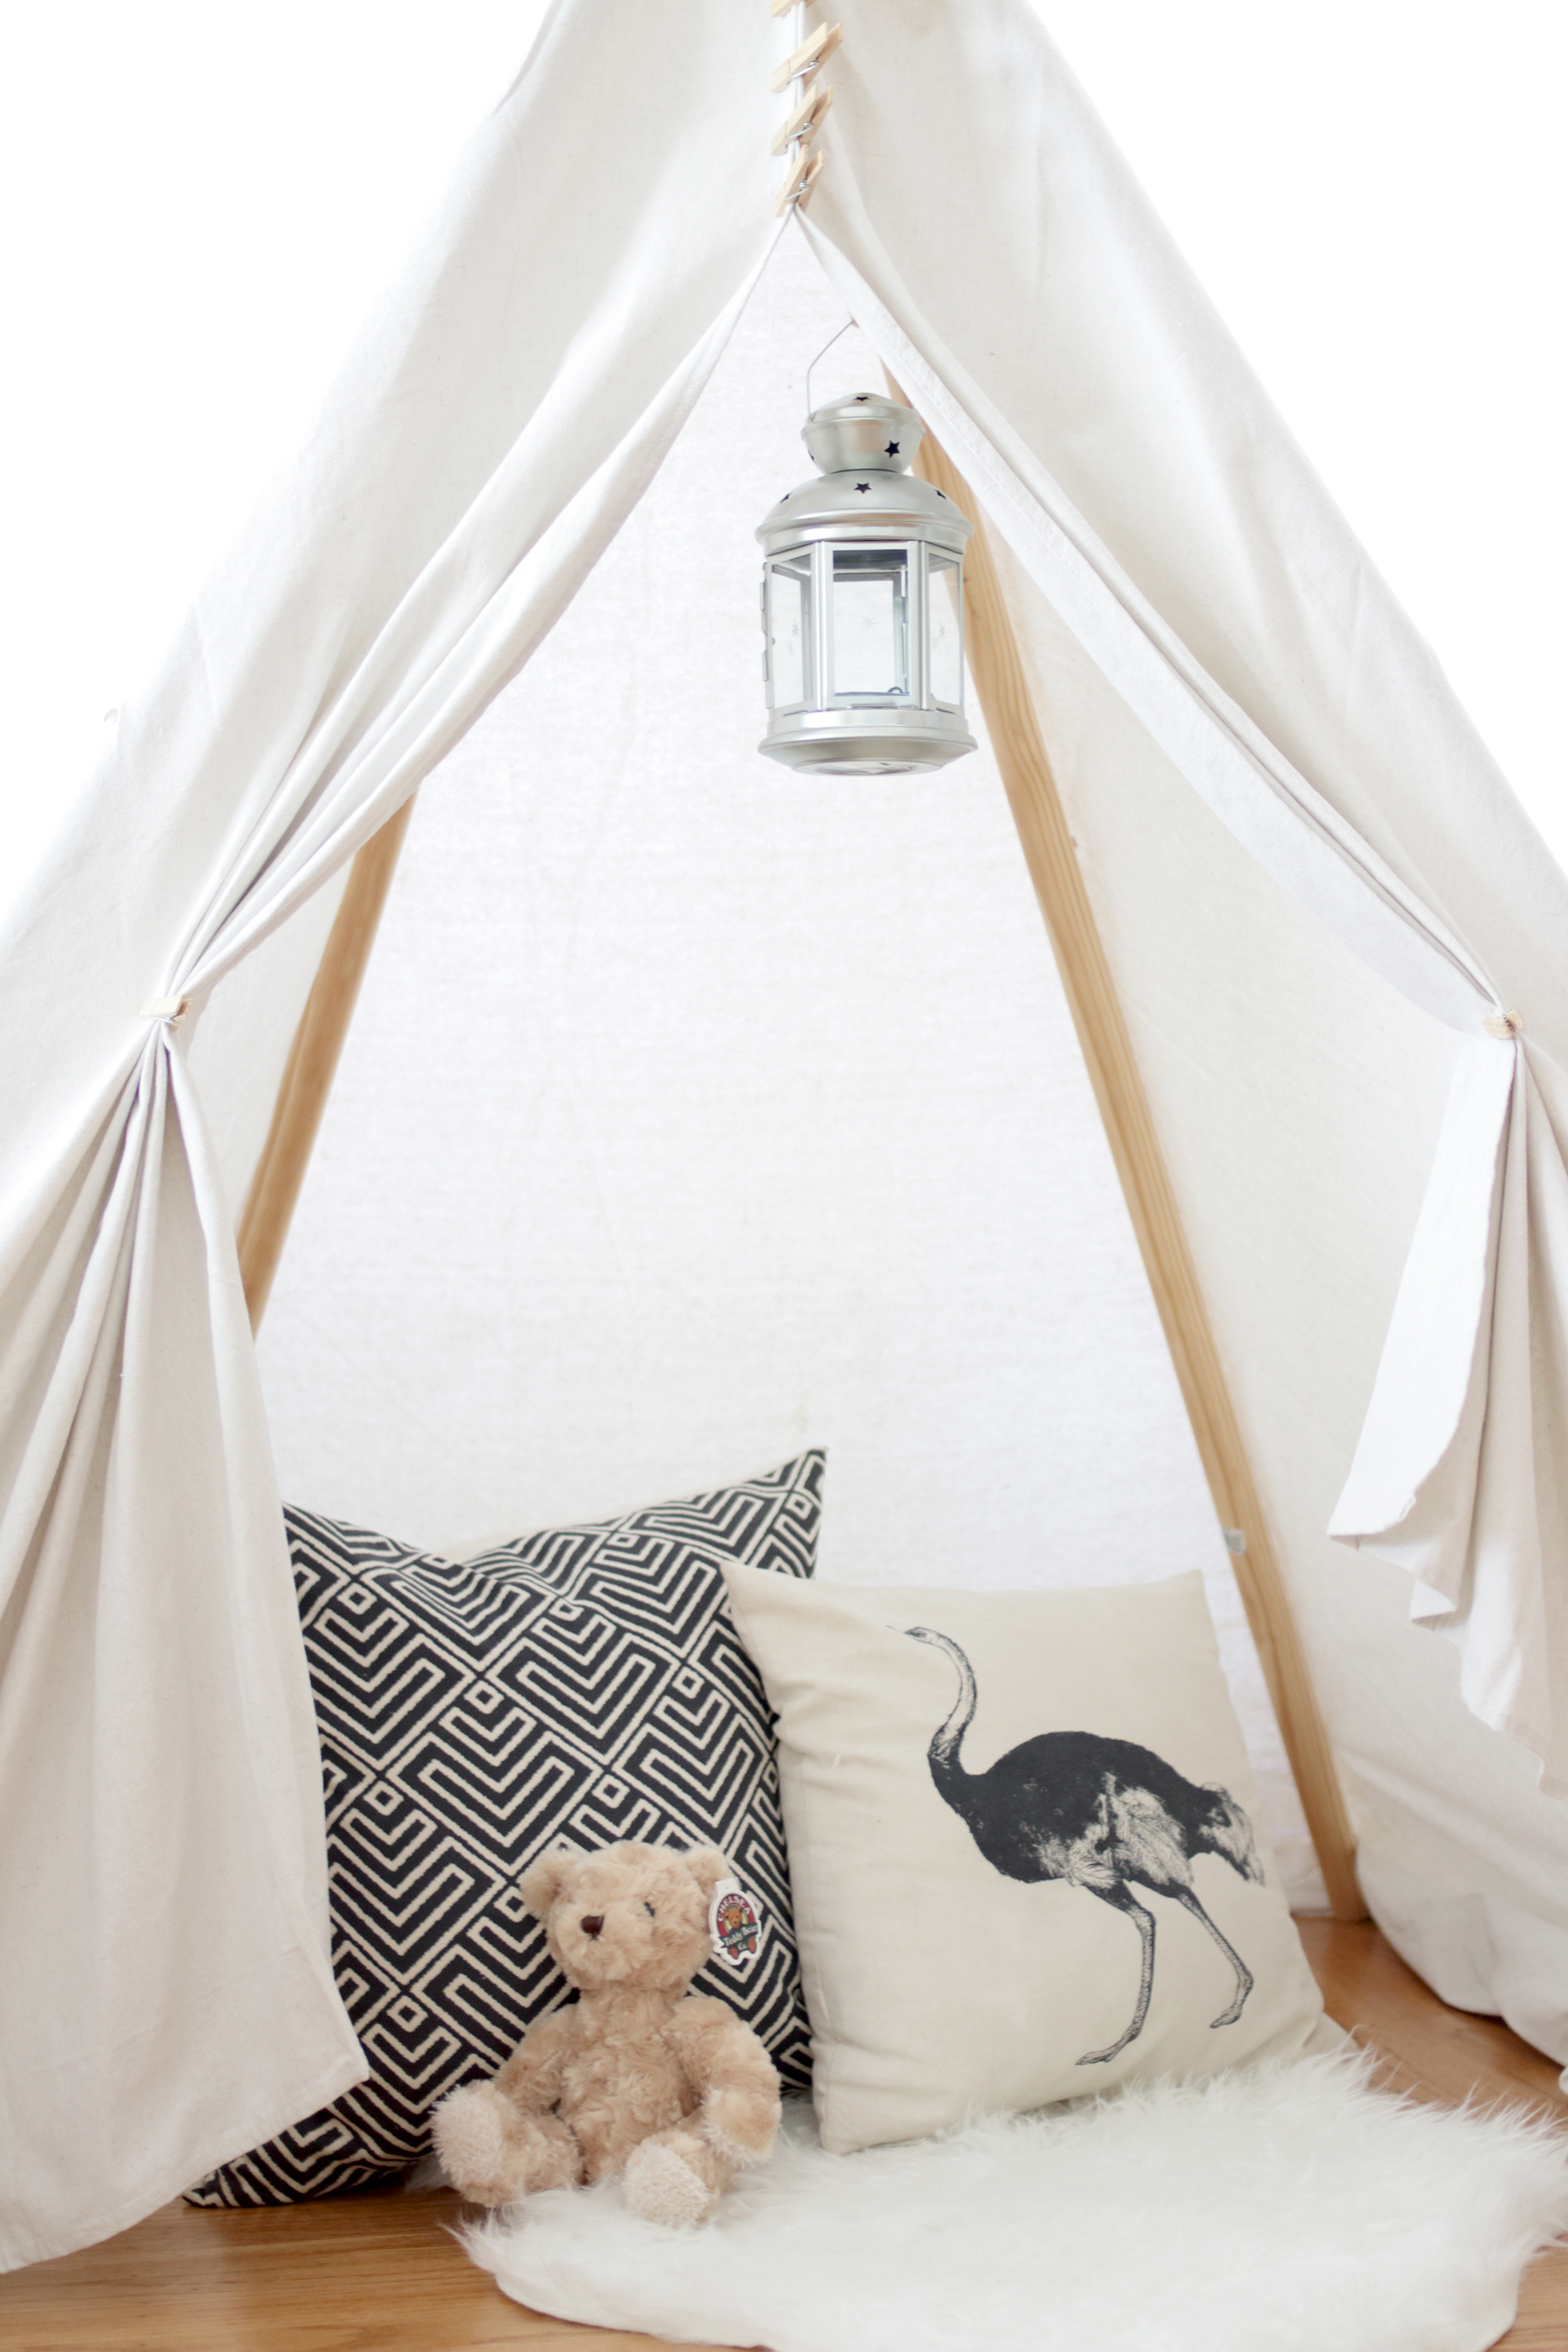
I got sheepskin rug and little lantern from IKEA to style it.
When you’re ready to put it away, there isn’t much you need to do. Just gather the poles together and store it in a closet. The next time you need it, take it out and spread the poles out again. The teepee should go back to its original shape without much effort.
Happy Building!
One Reply to “Make Your Own Teepee (No Sewing)”
❤️😭 so goood! so kid friendly! love this Tim!